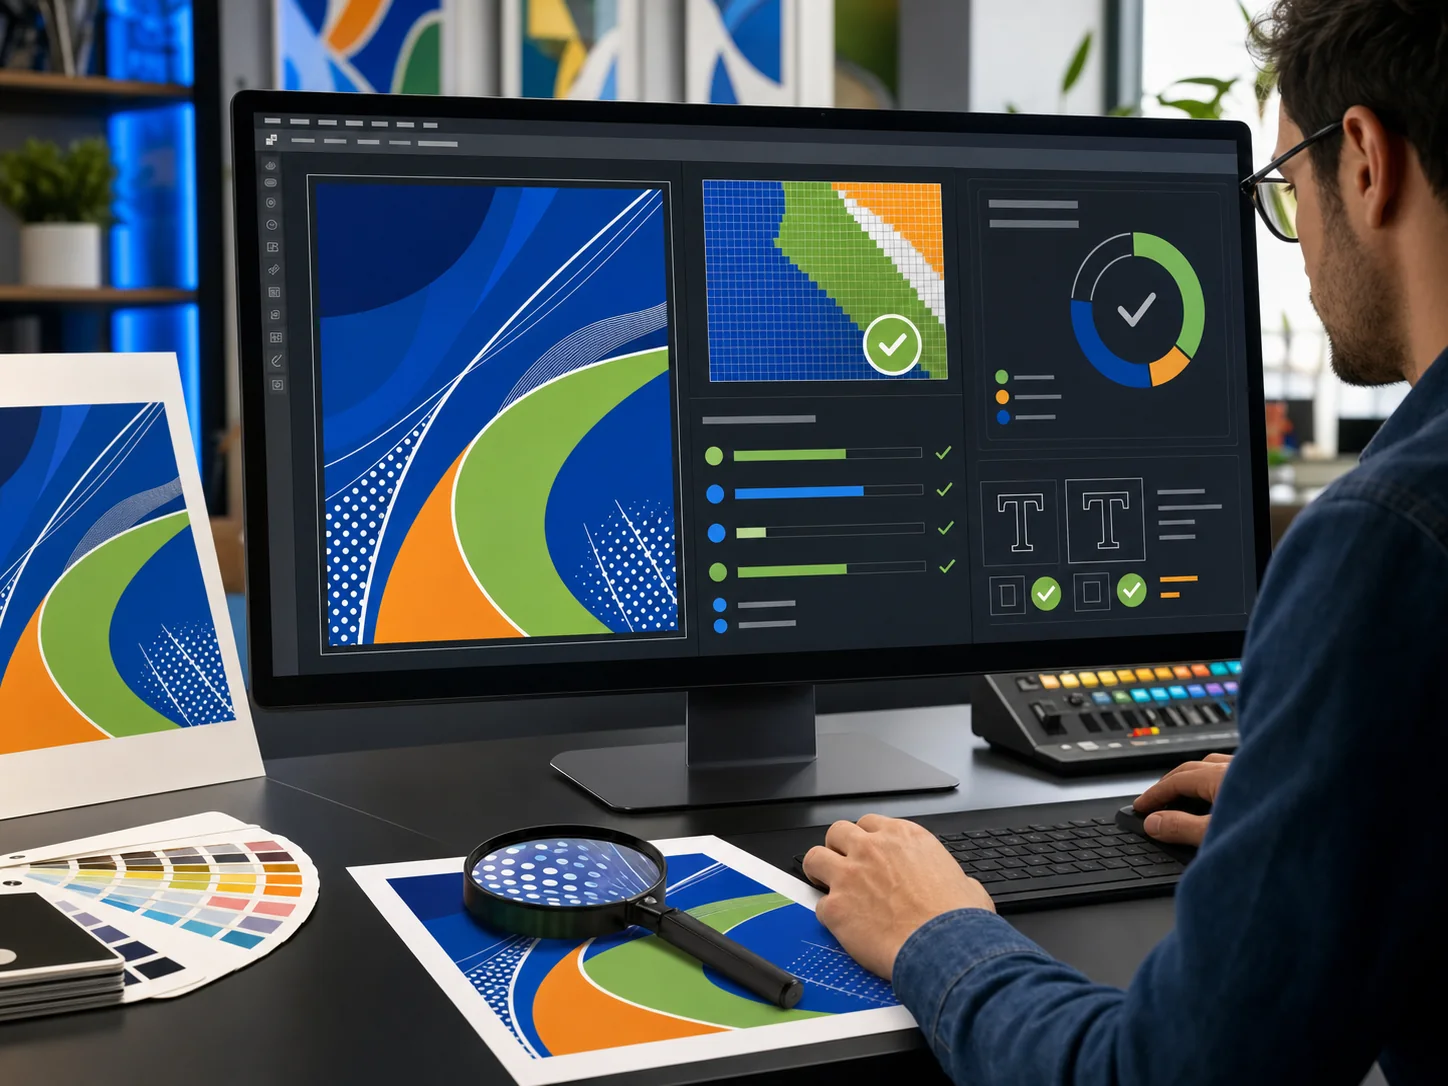
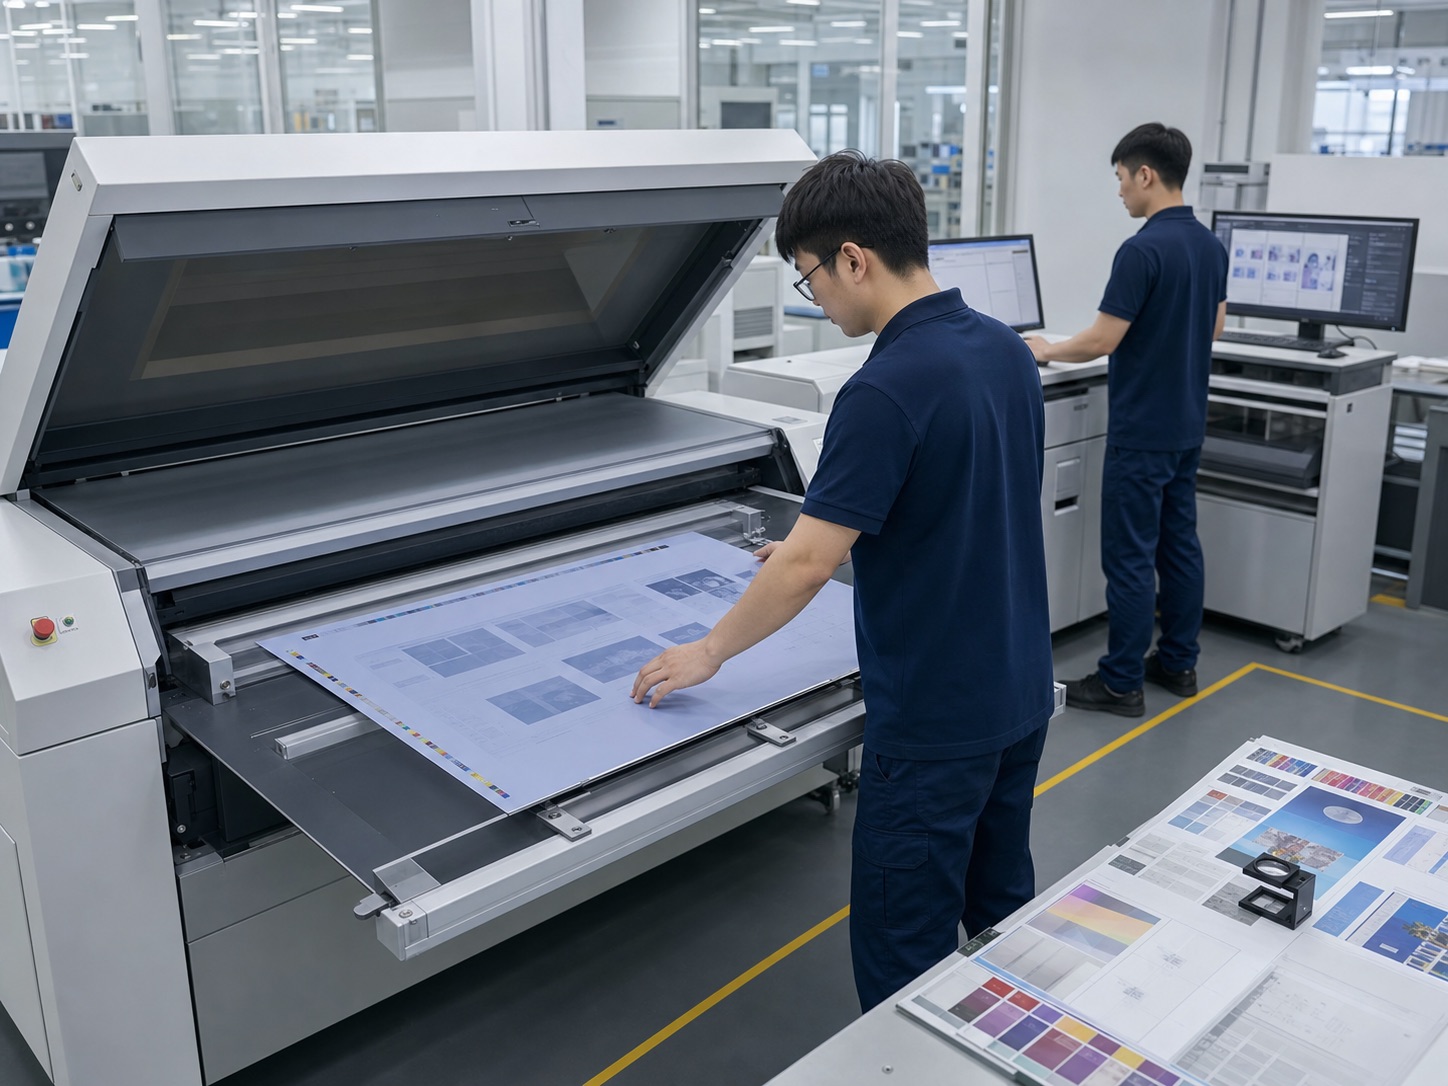
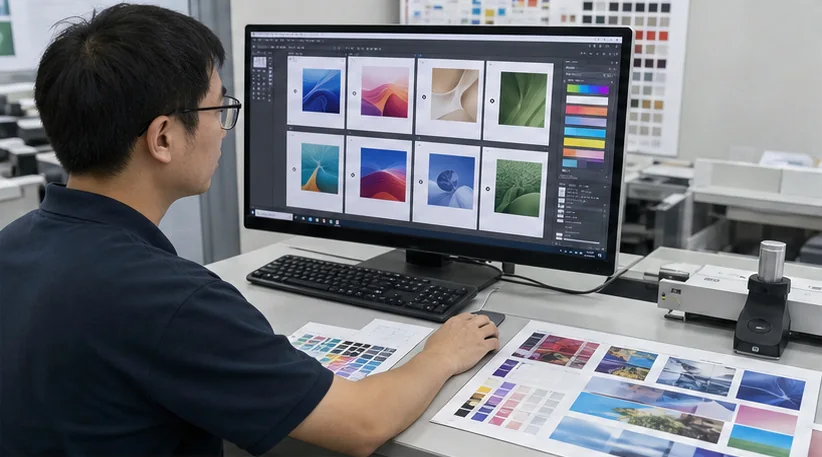
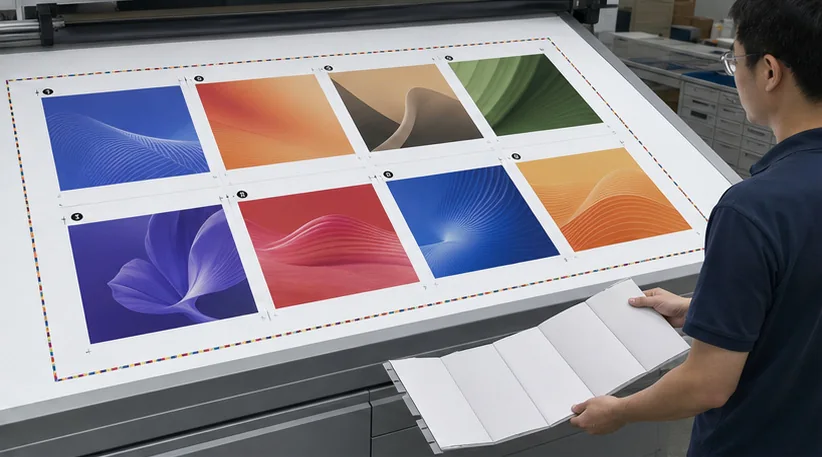
Gold Printing does not replace the customer’s original design. From the perspective of documents, specifications, materials, proofing, production, quality, transportation and compliance, we turn the formed idea into a printing project that can be quoted, proofed, produced and delivered.
Output results:Lists the recommended solutions, optional solutions and differences, allowing customers to confirm the direction before proofing.
03
Sample confirmation
Use appropriate samples to confirm the structure, materials, colors and processes, and do not let mass production replace proofing.
Sample type:Paper sample, white sample, digital sample, contract sample, process sample or complete finished product sample, selected according to project risk.
Confirmation content:Version, size, structure, material, color, process location, function and approver.
Output results:Form traceable approval samples and modification records as the basis for production and acceptance.
04
Production Planning
Arrange materials, machines, processes, quality nodes and delivery dates according to confirmed specifications and samples.
Path design:Check the book utilization rate, equipment format, material loss, process sequence, binding and assembly hours.
Quality node:Set the confirmation requirements for incoming materials, first article, color, registration, binding, structure, finished product and packaging.
Output results:Form the production process, responsibility nodes, scheduling and quotation, and do not cancel necessary inspections in exchange for low prices.
05
Delivery Planning
The arrival date is calculated backwards from the beginning of the project, and production completion, packing, export and actual receipt are managed separately.
Delivery conditions:Destination, time limit, box mark, pallet, customs clearance, batching, multiple addresses and delivery methods.
Route comparison:Compare sea, air, express or combined delivery by volume, weight, lead time and risk.
First determine whether the project meets expedited conditions to avoid exchanging high-risk production with impossible delivery dates.
Evaluation conditions:Product type, quantity, structure, material inventory, process, file status, destination and latest arrival date.
Judgment result:Categories can be expedited, specifications need to be adjusted, or regular scheduling is required, and the main restrictions are explained.
02
Conditional lock
Expedited projects cannot change key conditions during production, and specifications and responsibilities must be locked before starting work.
Locked content:Size, number of pages or box type, quantity, materials, binding, workmanship, packaging and delivery method.
Change rules:Evaluate the impact of any modification on materials, costs, samples, schedules and completed processes first.
03
Parallel Scheduling
After specifications and responsibilities are locked, synchronizable work can be parallelized to shorten the wait instead of deleting the process.
Parallel content:Material verification, necessary proofing, machine and binding scheduling, packaging preparation and logistics inquiry.
Control conditions:Each work line has a person in charge, deadline and preconditions, and unconfirmed items must not cross the quality node.
04
Necessary quality inspection
Expediting only shortens waiting and communication, but does not cancel the inspection that determines whether the finished product is qualified.
Required nodes:Necessary samples, first piece on the machine, key process confirmation, finished product sampling and packing verification.
Quick confirmation:Use PDFs, photos, videos or physical samples with version numbers to record approvals to avoid losing control of verbal modifications.
05
Logistics inversion
Reverse the production completion, packing, booking and customs clearance time from the latest arrival date to avoid only promising the factory date.
Check in advance:Destination, receiving period, customs clearance conditions, number of boxes, weight, volume, pallets and batching requirements.
Route selection:Compare the time, cost and risk of air, express, sea or combined delivery, retaining necessary buffers.
06
Delivery date confirmation
The final delivery date is jointly confirmed by pre-press, procurement, production, quality and logistics, and is not automatically promised by the website.
Confirmation basis:Document status, materials in place, sample approval, current production capacity, process hours, inspection and transportation shifts.
Output results:Form a traceable schedule, listing customer confirmation points, factory nodes, delivery nodes and abnormal upgrade methods.
Prepress support
Centralizes document standards, prepress and utility tools.
01
Pre-press inspection
Checks bleed, safety margin, image resolution, font, page order, spot color and die.
02
Imposition page sequence
Check the imposition, folding, page order and finished product direction according to the binding method.
03
Binding confirmation
Confirm the binding structure, material, page number and finished product specifications before starting the machine.
Document Standard
Commonly used design files are completed. The output settings are first according to the following four types of formats, and then the size, page order, color, spot color and plate making requirements are checked one by one.
Design file settings
The following are common delivery methods; formal production is still subject to the project pre-inspection results and the version confirmed by both parties.
01
InDesign Typesetting
Create the page according to the finished product size, leaving 3 mm of bleed on the four sides.
Package fonts, linked images, INDD and IDML files.
The text is arranged on a single page and is not printed in large format.
02
Print PDF
Priority is given to using PDF/X-4 or the PDF/X standard confirmed by both parties.
Embed fonts and retain bleed, crop and page size information.
Cover, text, inserts and process files are named separately.
03
Illustrator Vector
The cutting die, hot foil, local UV and concave and convex processes are independently layered.
The linked pictures are complete and the spot color names remain unique.
The knife mold is in a 1:1 ratio, with the finished product and bleeding range clearly marked.
04
Photoshop Image
Pictures are recommended to reach 300 ppi at final size.
Color printing is based on CMYK, with color correction after RGB conversion.
PSD or TIFF retains necessary layer and color information.
Production document inspection
01
File check
Priority will be given to PDF/X-4 or the PDF/X standard confirmed by both parties. When you submit your InDesign original, fonts, linked images, IDML, reports, and print PDFs are packaged simultaneously.
Currently supports InDesign 2026 (21.x). The text is usually output as a single page and is not enlarged by itself; PDF fonts must be embedded, and page size, cropping and bleed settings must be complete.
The file name and version number remain unique, and official documents, revised documents and reference materials are stored separately.
All linked images must be available; provide legal fonts when submitting original files or convert them as required.
Cover, text, inserts, die and process files are named separately to avoid misuse during production.
After receiving the file, the pre-inspection results will be formed first, and the items that need to be corrected will be confirmed before proceeding to proofing.
Word, PowerPoint and general office documents can be used as content or layout reference, but are not directly regarded as printable files; conversion, proofreading and layout confirmation must be completed before formal production.
02
Size bleeding
Conventionally leave 3 mm of bleed on each side of the finished product, and keep important text and logos at least 3–5 mm from the cutting line to avoid white edges or too close content after cutting.
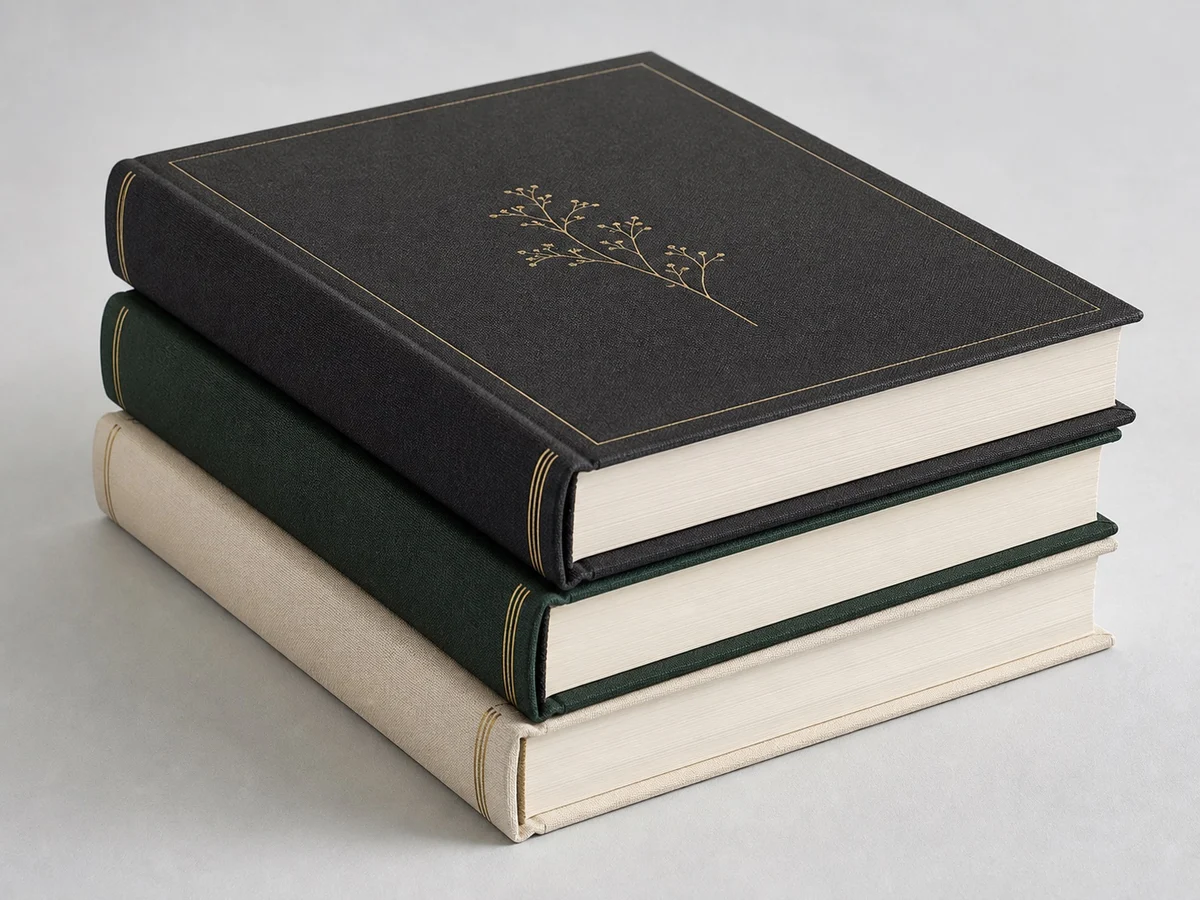
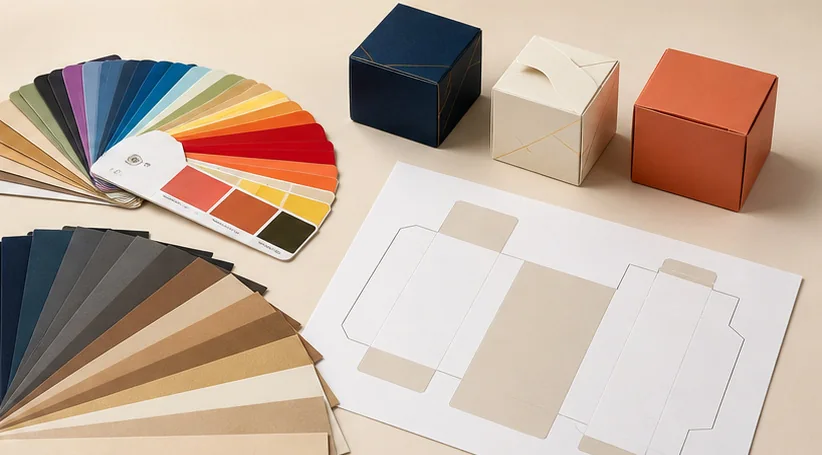
The hardcover book slots, spine, folds, pull pages and box shape must be determined according to the confirmed structural drawing; the die ratio remains 1:1.
The effective image resolution is checked based on the final size used. It is recommended that conventional color images reach 300 ppi.
Folding lines, hole positions, windows and important graphic and text safety areas must be clearly marked on the structural drawing.
The spine width is calculated based on the paper, number of pages and binding method, and does not directly follow the old project dimensions.
Special cutting, rounded corners and special-shaped structures must be accompanied by 1:1 cutting die and finished product direction instructions.
The final size of the image is recommended to reach 300 ppi; web thumbnails, screenshots or missing images may not be used to replace the original image.
03
Imposition page sequence
The number of internal pages, blank pages, cross-page images, pull pages and covers are clearly classified; check the imposition, folding, page order and finished product direction according to the binding method.
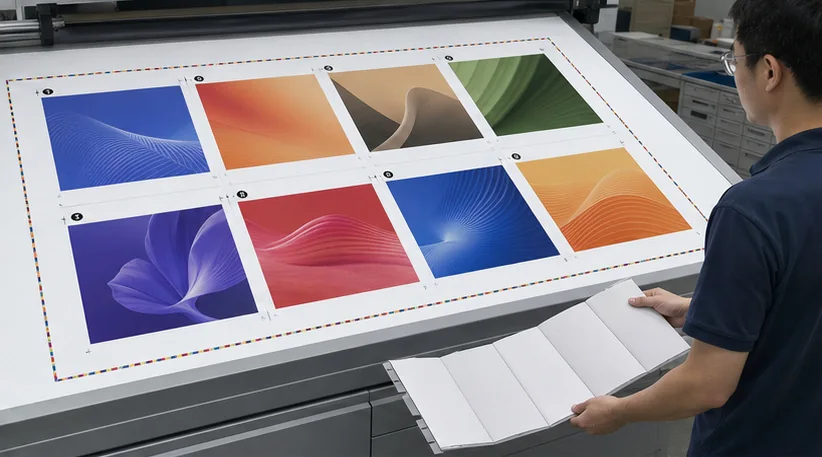
Reading a spread is not equivalent to producing an imposition. Customer documents do not need to be marked by the printing press themselves, nor should they mistakenly read a double-page spread as a large-format output.
Blank pages must be included in the total number of pages, and clear independent file names should be used for cover, text, inserts and pull-out pages.
The main body of the double-page spread should avoid the spine. Important images and text must leave a safe distance according to the binding method.
The left and right pages, reading direction and chapter starting position must be consistent with the final binding direction.
After confirming the folded hand sample or white sample, the formal imposition and production page sequence will be locked.
After the pre-check is completed, the produced PDF will be locked with the version number to avoid mixing of revised files, old files and official files.
04
Color Management
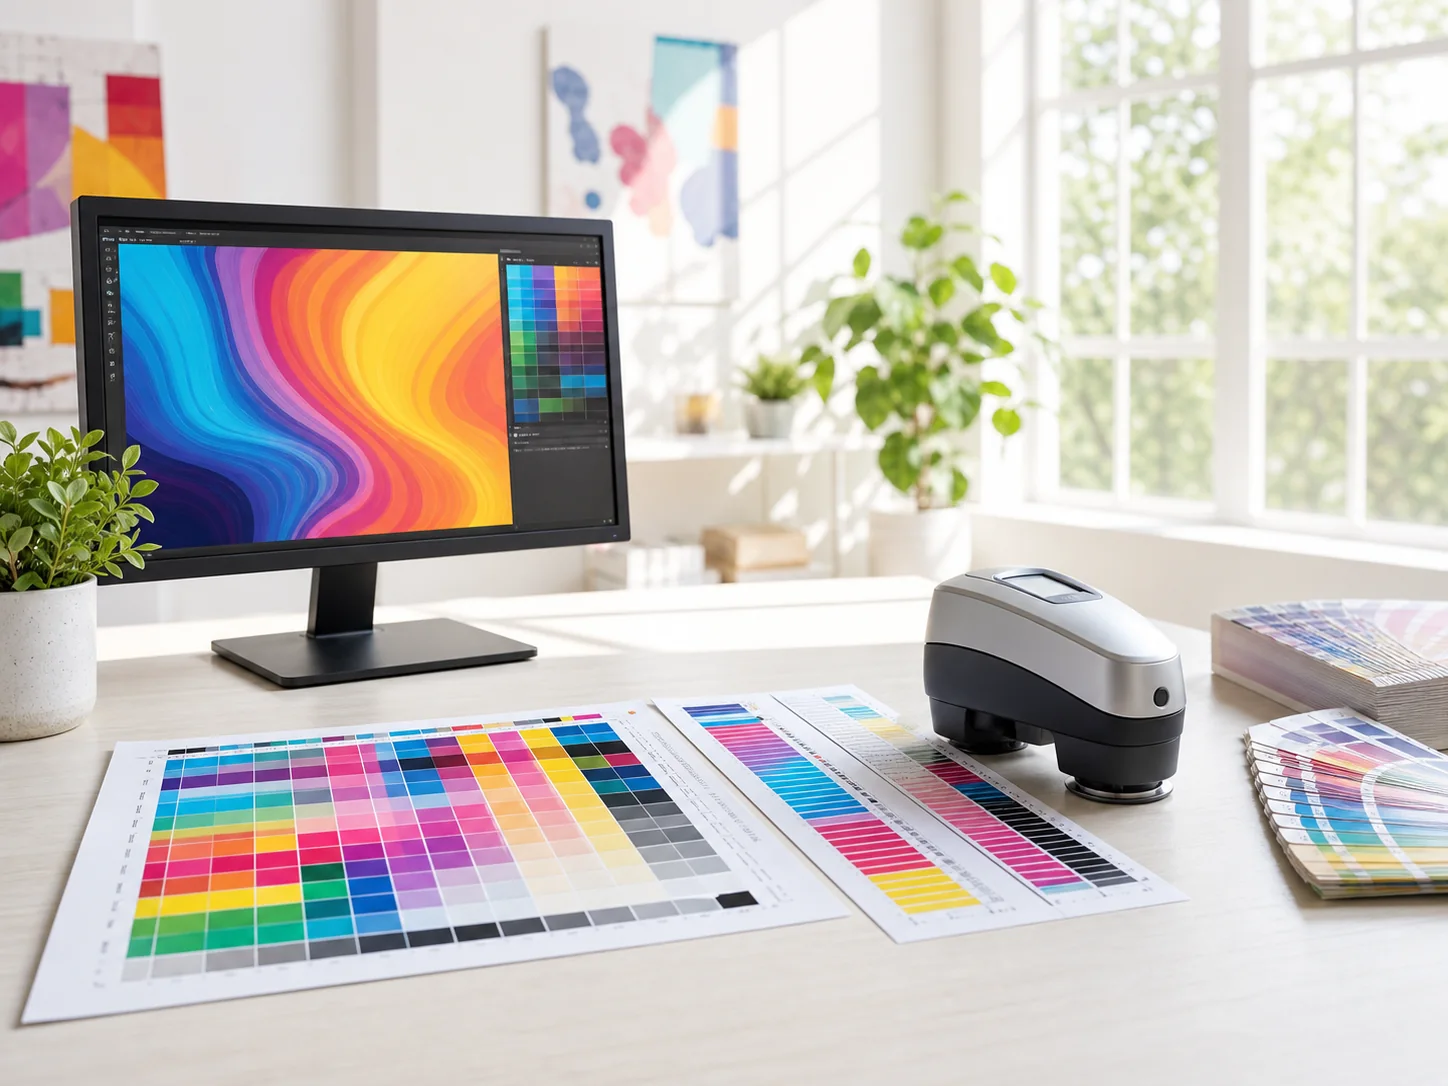
Color printing is based on CMYK; RGB, transparency, overprint, picture color space and total ink volume must be verified before proofing.
PSD/TIFF should retain necessary layer and color information. Only changing low-resolution values does not increase real details.
Brand colors must provide verifiable color numbers, samples or confirmed color references.
Black text, four-color black, gray balance and dark large-area printing must be set separately according to the purpose.
Transparency effects, overprinting and gradients must be previewed before output to avoid color aberration or loss after conversion.
Use consistent color description files for important pictures, and use the same confirmation standard for proofing and printing.
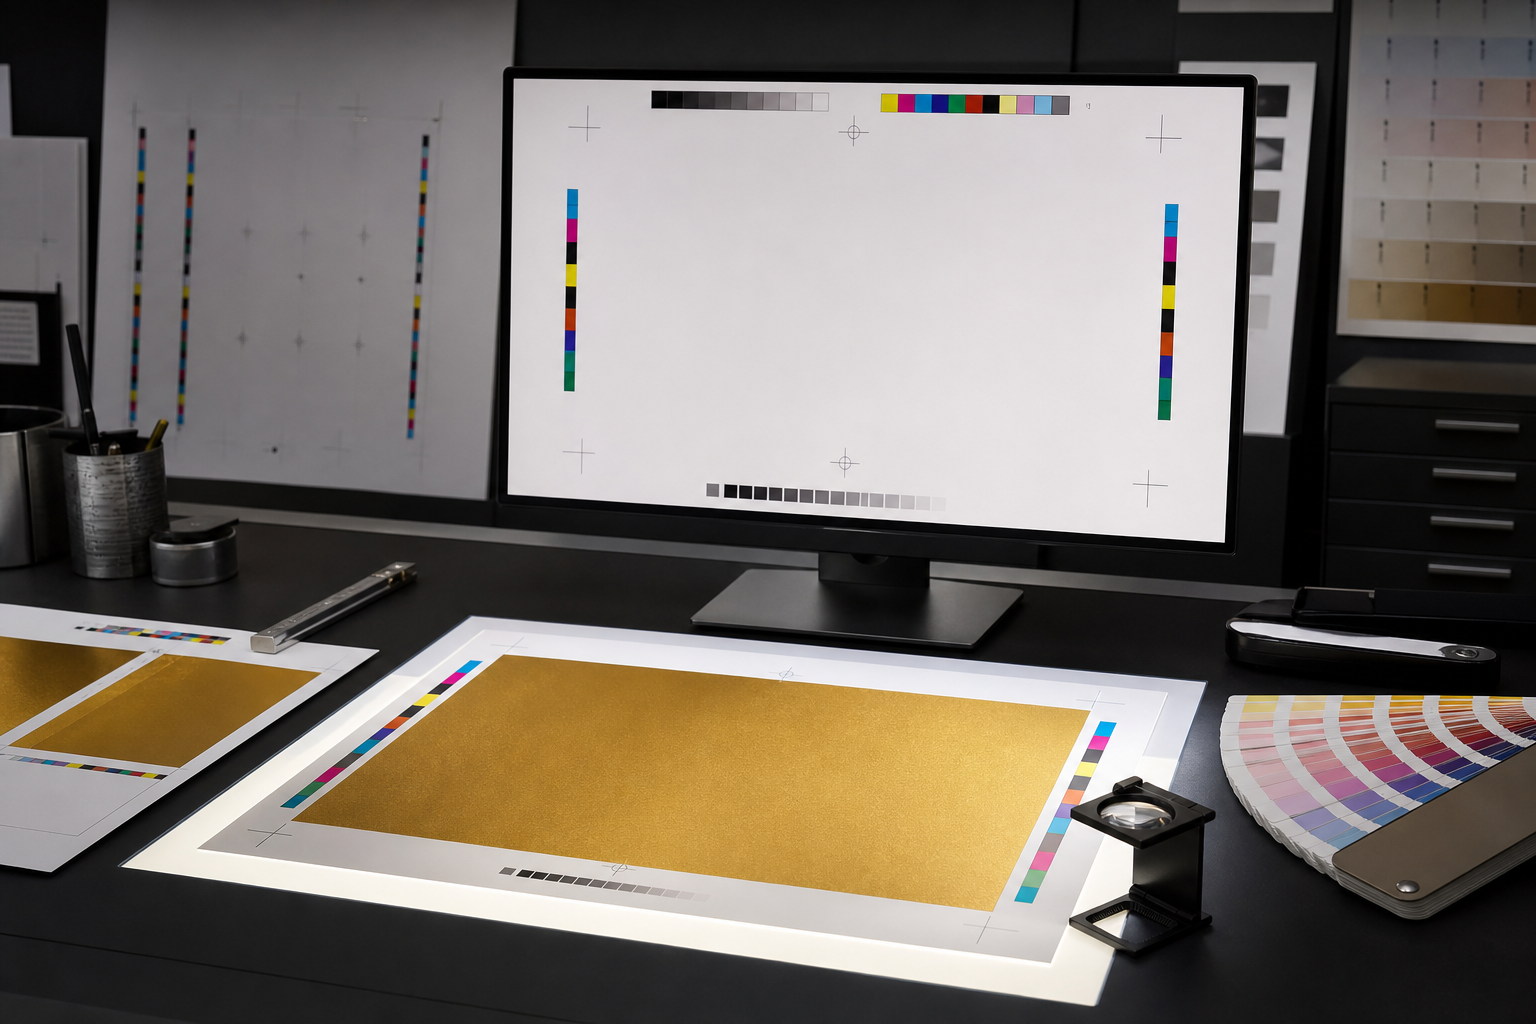
Important colors shall be carried out according to the digital sample, contract sample or the standard confirmed by both parties; the screen cannot replace the printed sample.
05
Spot color proofing
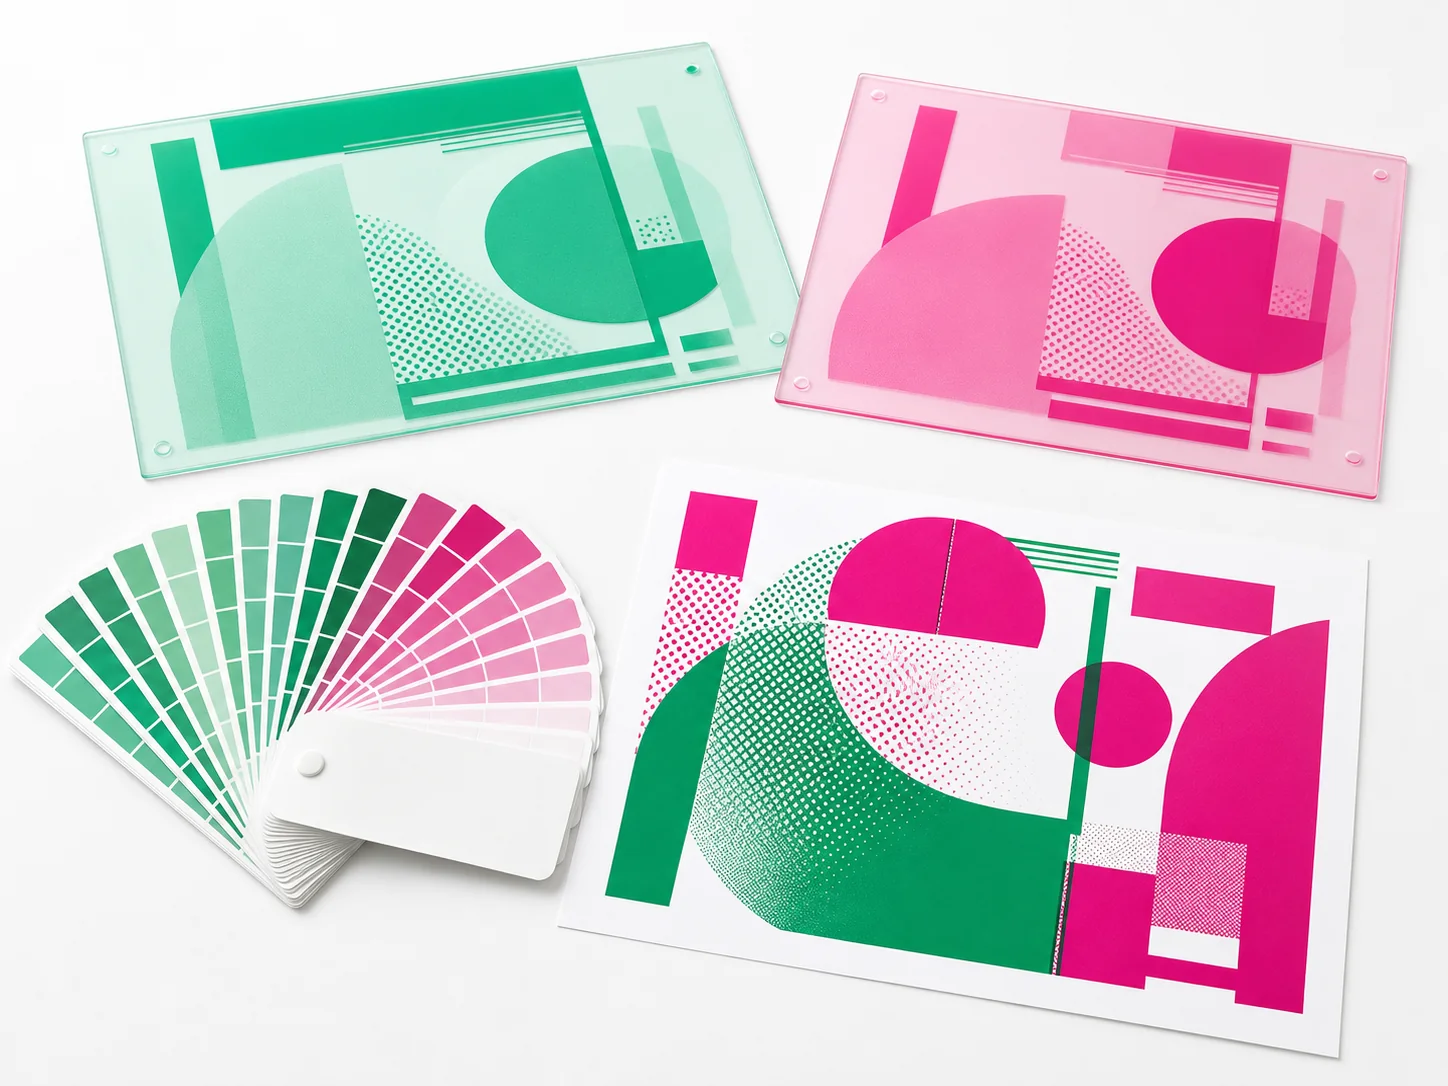
Brand colors, gold and silver inks and spot colors use the same Pantone name; samples, color cards, paper and surface treatment must be confirmed together.
Use independent layers and clearly name them for spot color, white ink, hot stamping, local UV and embossing to avoid mixing them with the finished image into a single bitmap.
Spot color objects must have consistent names to avoid multiple different color versions of the same color appearing in the document.
The background color, lamination and glazing of the paper will change the visual effect and must be confirmed together with the process sample.
Gold and silver ink, white ink and fluorescent colors must be proofed separately according to the actual materials and printing conditions.
Mass production is subject to confirmation samples. Screen colors and uncalibrated printouts cannot replace the official color samples.
Different paper, lamination and glazing will change the visual effect; formal production is subject to confirmation samples and written standards.
06
Plate making output
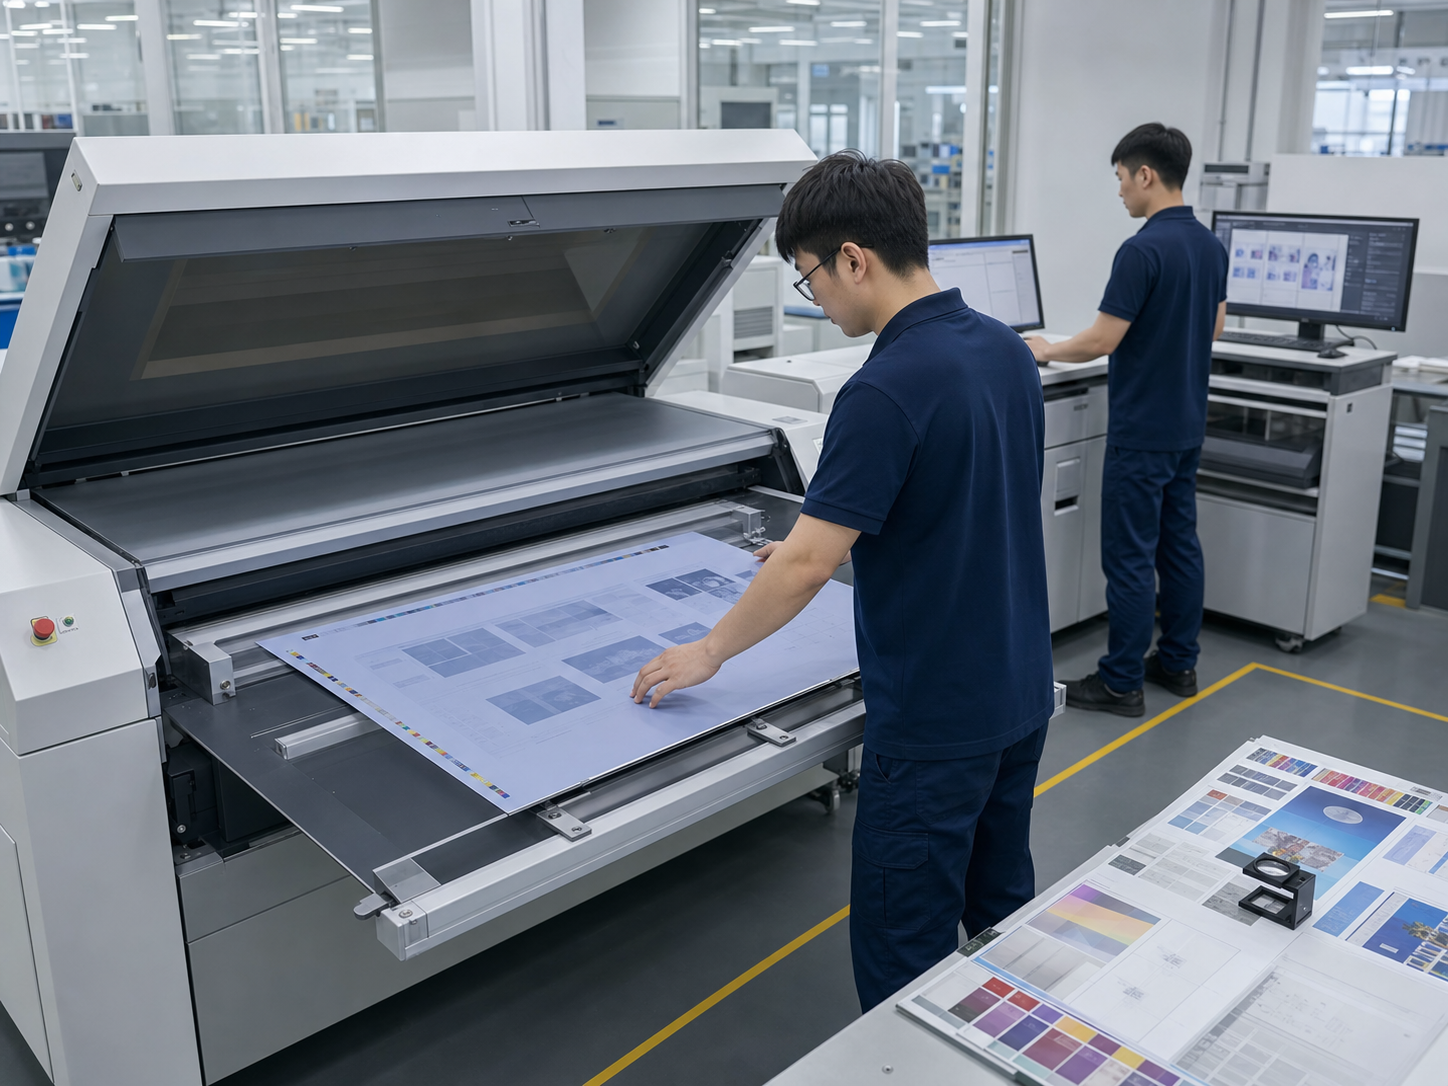
After the file reception, pre-inspection report, correction confirmation and sample locking are completed, plate making and formal production can begin.
AI/PDF Suitable for die cutting, hot stamping, local UV, embossing and packaging structures; finished product drawings, die lines and processes must be layered and clearly named.
Check the layout size, imposition direction, color sequence, number of spot color plates and craft plates again before plate making.
Only the confirmed version will be used for final output, and old files and revised files must not be mixed with official production data.
Check the dot, registration, plate direction and content of each color plate before CTP output.
After the plate making is completed, the corresponding version record is retained to facilitate subsequent production verification and problem tracking.
InDesign version is continuously updated. When submitting the native typesetting file, IDML, packaging folder and printed PDF are provided simultaneously; when opening the project, confirm again that the acceptable version and output settings are available.
Utility tools
Provides size, paper, spine and data conversion to assist in quickly checking production data.
Size conversion
1 inch= 25.4 mm
Practical note
State quotation dimensions consistently as width × height × depth, and identify millimetres or inches.
Final production remains subject to the approved dieline, white dummy or structural file.
Dimension principleAll formulas are for early checks only; final production follows the approved dieline, white dummy or structural file.
Paper conversion
Text paper weight × 1.48≈ gsmCover paper weight × 2.708≈ gsm
Practical note
Basis-weight conversion depends on the US reference sheet size; Text and Cover stocks do not use the same multiplier.
Coated, book, lightweight and specialty stocks at the same gsm can differ in thickness, stiffness and feel.
Check spine width, box format and mailing weight against real samples, bulk and supplier data.
Children's books, food-contact projects, religious editions and long-life publications also need material and destination-market checks.
Important noteConversions support stock selection and early estimates only; they do not replace actual samples, basis weight and thickness testing.
Spine Calculation
Book block thickness≈Number of pages ÷ 2 × sheet thickness
Practical note
First confirm whether the total page count includes preliminaries, contents, inserts and blanks; book pages normally follow even-page or signature rules.
Perfect bound, PUR, sewn softcover and hardcover books compress differently, so a spine cannot be calculated from page count alone.
Hardcovers also require endpapers, mull, spine lining, headbands, case construction and rounding to be considered.
Spine lettering and foil positions are locked only after the final white dummy or actual stock thickness is confirmed.
Production confirmationEarly formulas support layout preparation; final spine width follows a real-stock dummy or production sample.
Project preparation
Project Evaluation
Submit design documents, usage, quantity and delivery requirements; the project team will form production, quality and transportation paths.